Acrylic Pouring for Beginners: Test Flow, Color and Drying
Acrylic pouring lets paint move across a level surface and form flowing shapes. The result depends on the paint, the pouring medium, the surface and how the user mixes them. A first-time user benefits from a small controlled test; a buyer benefits from seeing whether the kit provides a repeatable, clearly explained starting point.
Start With a Small Test Panel
Prepare a protected workspace and a level, primed panel. Use the exact paint and medium named in the product instructions. Mix a small amount in a clean cup, pour it onto the panel and tilt gently. Record the paint, medium, surface, room conditions and result. This small test tells you more about flow than a universal mixing ratio, because formulations vary.
Read the maker’s directions before adding water, silicone or other additives. Too much dilution can change color, film strength or adhesion. A kit should state which components are intended to be mixed and whether any protective equipment or ventilation is needed for the specific products supplied.
What the Pouring Medium Does
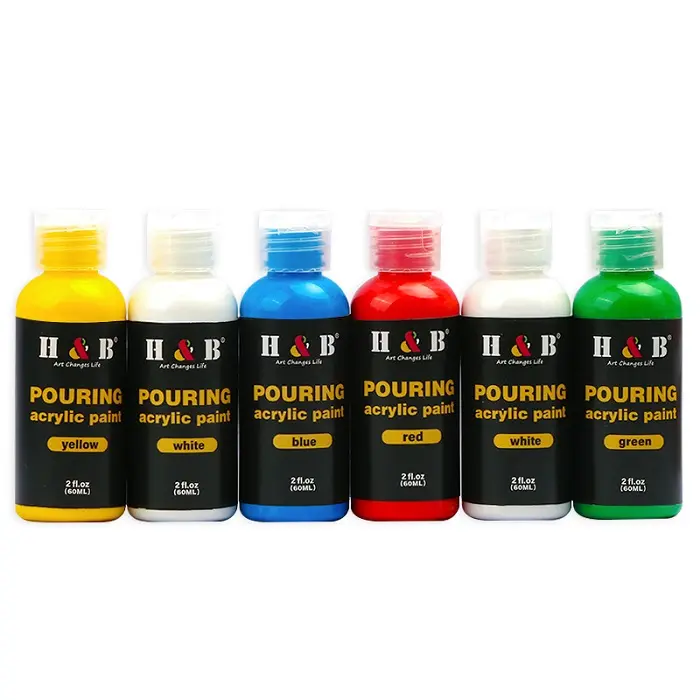
A compatible pouring medium helps paint move while keeping the mixture workable for the intended technique. Different products can produce different flow, finish and drying behavior. Test one paint color at a time before combining a whole palette. If the product is already formulated as fluid acrylic, additional medium may be unnecessary; use the label and sample results rather than a fixed recipe from another range.
Three Useful Beginner Techniques
Single-Color Flow Test
Pour a modest amount onto the center of a level panel and tilt slowly. This reveals whether the mixture spreads evenly and whether the edge pulls apart. It is the simplest way to compare candidate paints.
Layered Cup Pour
Place two or three prepared colors into one cup without stirring them fully together. Pour in one controlled motion and tilt the panel. Record whether colors stay distinct or turn muddy. Keep the color count small so a beginner can understand the result.
Controlled Swipe
Pour adjacent bands and draw a clean tool once across the boundary. Check whether the paint remains fluid long enough for the technique and whether the surface levels after the swipe. Work on a test panel before making claims about cells or a particular pattern.
Why Results Differ Between Projects
| Observed Problem | What to Check |
|---|---|
| Paint runs off the panel | Surface level, amount poured and mixture flow. |
| Colors turn muddy | Number of colors, mixing in the cup and repeated tilting. |
| Cracks appear after drying | Layer thickness, compatible materials, surface preparation and maker’s drying guidance. |
| Uneven finish | Panel priming, contamination, bubbles and drying environment. |
Do not promise a fixed drying time. Film thickness, absorbency, temperature and humidity all matter. Follow the product instructions and let a test panel dry fully before stacking, varnishing or packaging the work.
How Buyers Can Evaluate a Pouring Kit
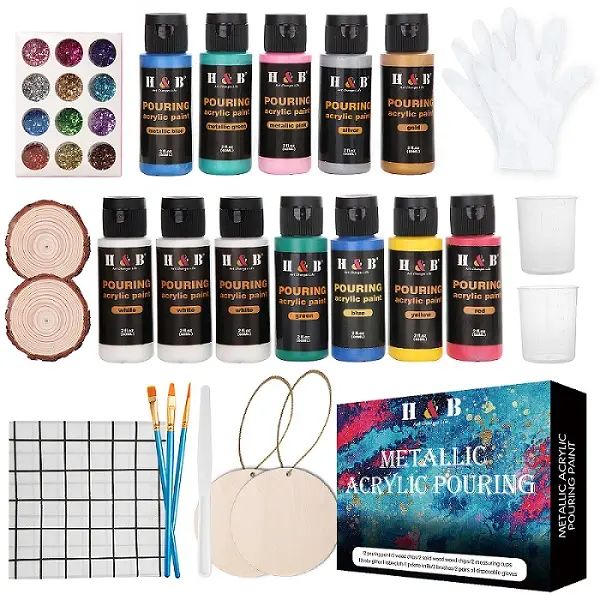
- Confirm the exact paint colors, fill volume, medium, cups, tools, panels and protective items in the proposed pack.
- Run the same small-panel test with each candidate under the same room and surface conditions.
- Compare flow, color separation, coverage and the fully dried result.
- Check closures for leakage and whether the kit survives normal shipping and storage.
- Ask a beginner to follow only the package instructions and note any missing step or material.
Keep the approved sample, a dry test panel and the written formula or SKU list as production references. If an accessory or paint changes, repeat the relevant test before approving the substitution. Avoid claiming a particular pattern, cell effect or archival performance without a product-specific method and evidence.
Specify the User Promise Clearly
Packaging should say what surface to use, which liquids may be mixed, how to protect the work area and how to clean tools. For products intended for children or a regulated destination market, review the finished SKU and its labels before printing safety claims. The U.S. CPSC art-material guidance is a starting point for ASTM D4236 labeling; EU toy safety requirements depend on product classification.
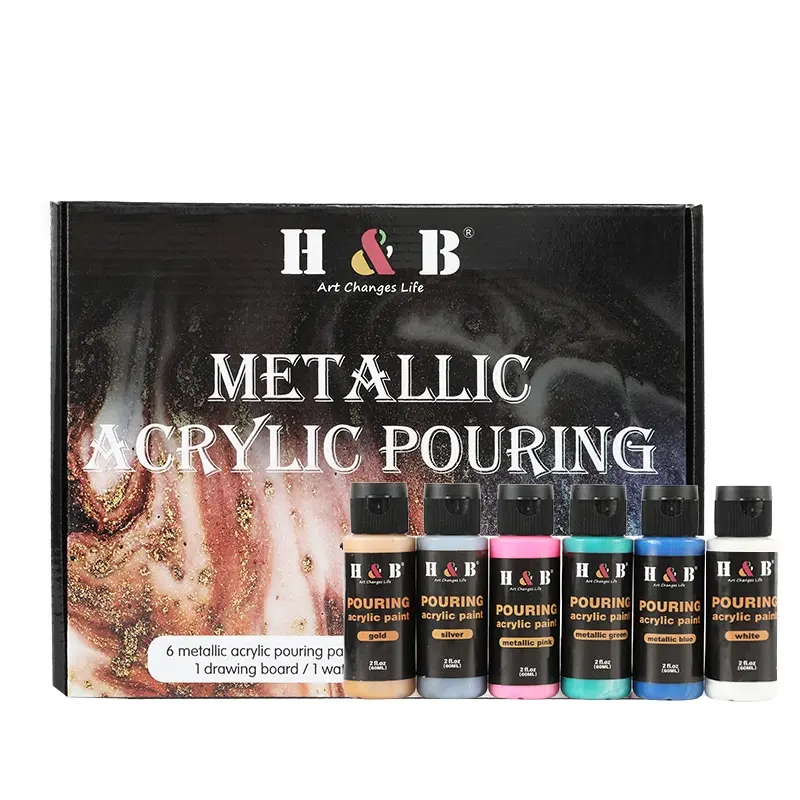
Related Acrylic Pouring Formats
These examples show possible configurations. Confirm the exact components and test the quoted set.