How to Blend Oil Pastels: Six Dry Techniques for Beginners
Oil pastels can make bright marks quickly, but a smooth blend takes control of pressure and paper surface. Start with light layers and test on a spare piece of the same paper. The six exercises below use dry methods, so a beginner can judge what the pastel itself does without adding a liquid or heat. Results vary by stick formulation and paper tooth.
Set Up a Small Practice Area
Choose two neighboring colors, a lighter color and a darker color. Use a paper with enough texture to accept several layers, plus a scrap sheet for trials. Keep a tissue for wiping pastel residue from a stick before switching colors. Test pressure on the scrap: a gentle mark should leave some paper texture visible; a firm mark should fill more of it.
Technique 1: Light Cross-Layering
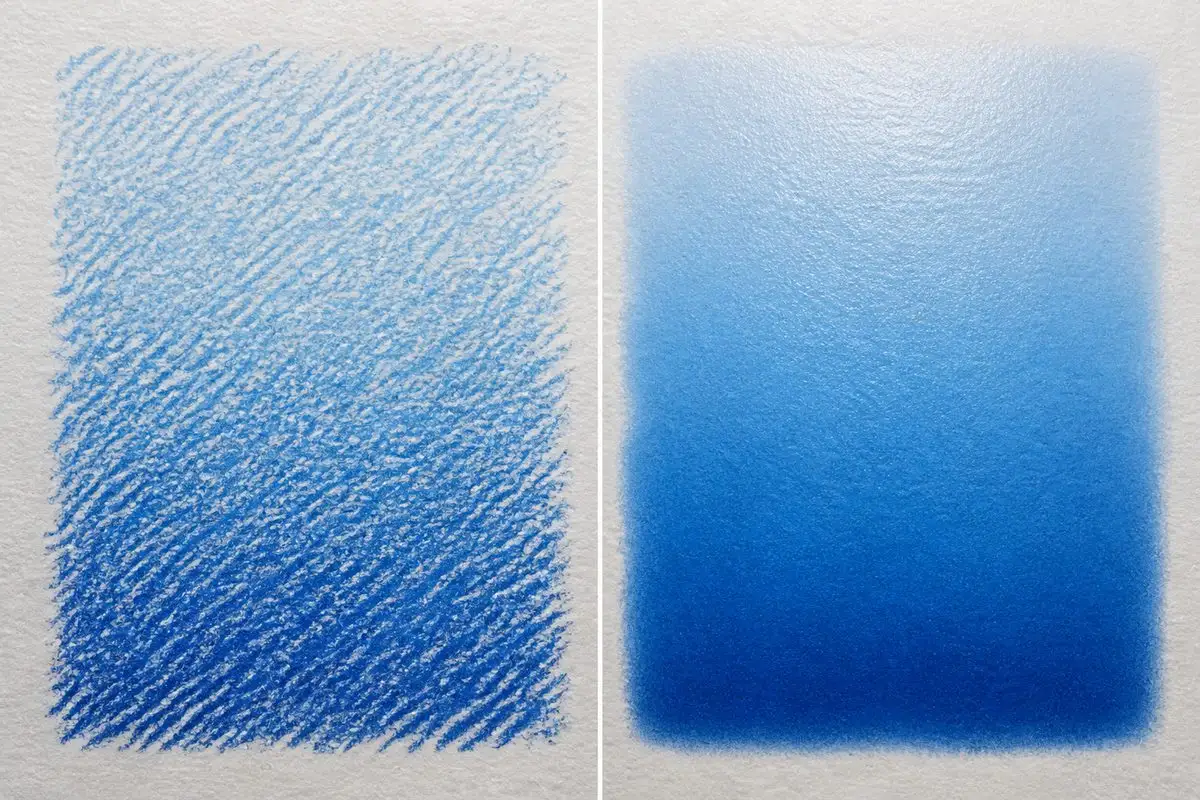
Lay the first color with short, light strokes in one direction. Add the second color across it at a different angle. Repeat only where the colors need to join. Step back and see whether the eye blends the small marks. Keep the first layers thin so there is space for later color.
Technique 2: A Midpoint Color Bridge
When two colors meet too abruptly, place a third color between them. Use light strokes from the first color toward the middle, then from the second color toward the middle. Add the midpoint color over the overlap. This is useful for skies, petals and rounded forms. Test a small swatch first; some color combinations turn dull when too many layers are added.
Technique 3: Controlled Burnishing
After the color arrangement is working, press a lighter pastel more firmly over a small section to fill the paper texture. Burnishing can make the area look smoother and more solid. It also reduces the surface available for another layer, so treat it as a late step. Check whether the stick crumbles or leaves waxy buildup under pressure.
Technique 4: Tissue or Stump Softening
Make a light two-color transition, then move a clean tissue or blending stump once across the boundary. Compare the result with an untouched swatch. The tool may move pigment differently across papers and formulations; do not assume it will preserve every crisp edge. Use a fresh part of the tissue for a different color.
Technique 5: Scumbling for Broken Color
Place a darker base color lightly, then add a lighter color in loose, open strokes. Let part of the first layer remain visible through the gaps. The eye reads the small marks together at normal viewing distance. This works well for foliage, stone and textured backgrounds, where a perfectly smooth transition would look less natural.
Technique 6: A Five-Step Value Gradient
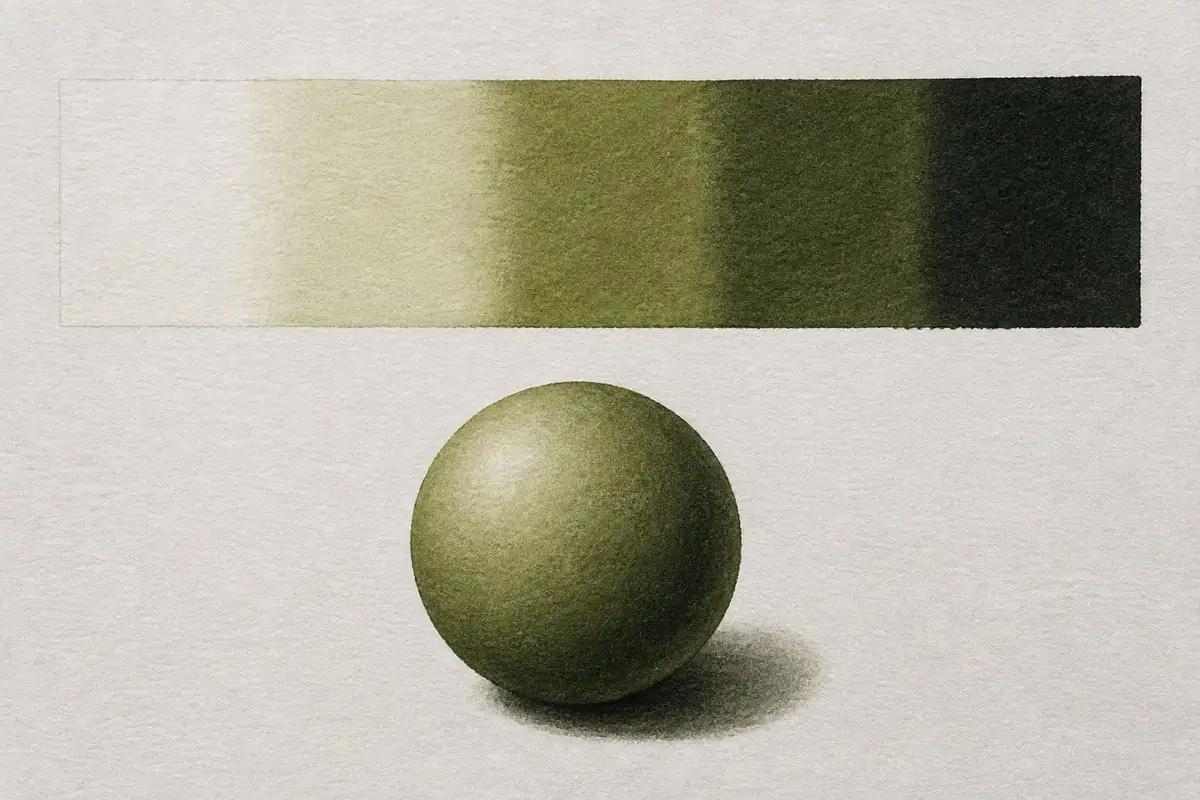
Draw five small boxes. Leave the first nearly bare, then increase the amount of color gradually across the remaining boxes. Keep the darkest box for the final layer and compare them from a distance. If two boxes look the same, add a little more color to one rather than pressing hard over the whole strip. Repeat with another color to learn how its value changes.
Try a Simple Leaf Study
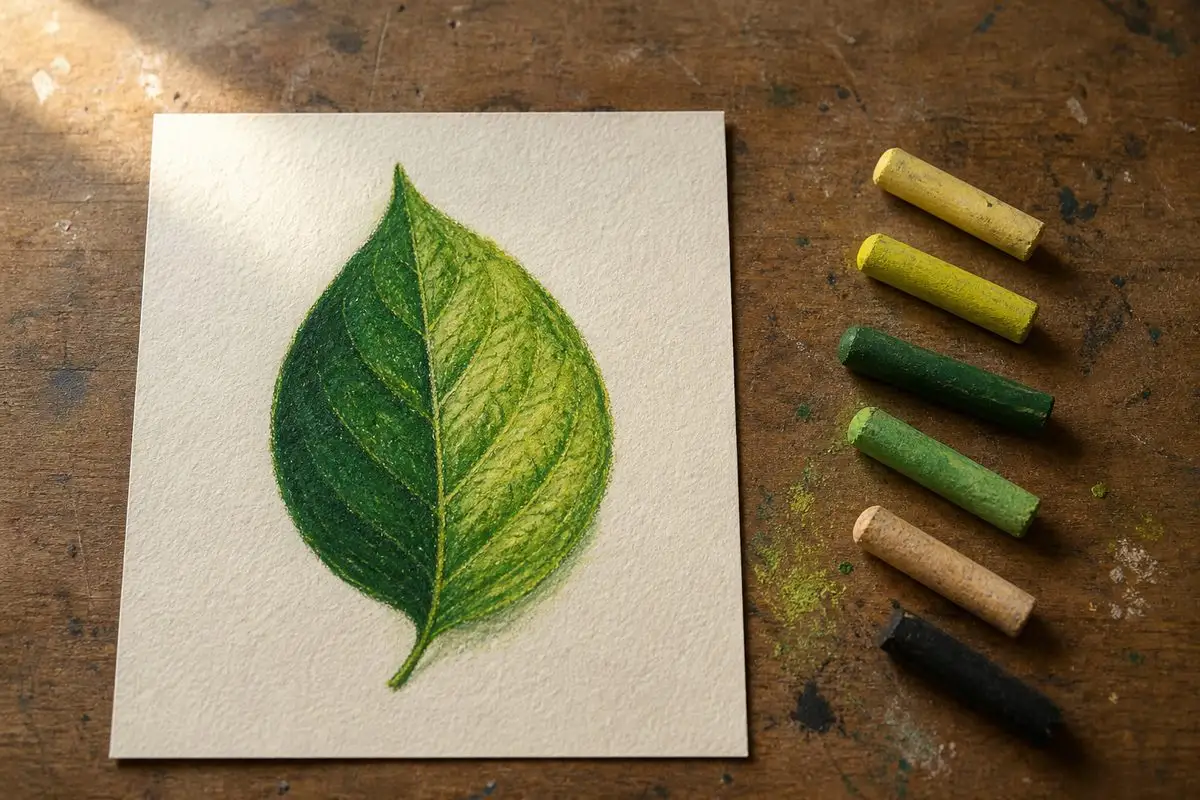
- Outline one leaf lightly and mark the central vein.
- Lay a light green base following the leaf direction.
- Add a darker green where the leaf folds or falls into shadow.
- Use a midpoint green at the transition and scumble lightly where texture is useful.
- Burnish one small highlight or focal area only after the value pattern works.
Leave a spare margin to test each color before it touches the study. A leaf is a good exercise because it combines a broad color area, a curved form and a few controlled edges without needing a large set.
Fix Common Blending Problems
| Problem | Try This |
|---|---|
| Colors turn muddy | Wipe residue from the stick, reduce the number of layers and test a different midpoint color. |
| New color skates over the surface | Use lighter pressure earlier and test a paper with more tooth. |
| Edges disappear | Keep some areas unblended and restate only the important contours. |
| Sticks crumble | Reduce pressure and check whether the stick is damaged or unsuitable for the chosen paper. |
What Buyers Should Check in an Oil Pastel Set
Have a beginner complete the value strip and leaf exercise with the exact proposed set. Record coverage, breakage, color distinction, tray fit and how the sticks transfer to hands or adjacent packaging. Compare samples on identical paper under the same lighting. Set size matters less than a useful range of light, mid and dark colors that can be identified and reordered.
Write the purchase specification with color codes, stick dimensions, set layout, packaging protection, intended user and destination labels. Keep an approved physical sample and dry swatches as references. If the product is marketed to children, review the applicable market rules and exact SKU evidence before adding safety claims. The U.S. CPSC art-material guidance explains ASTM D4236 labeling; EU toy requirements depend on the finished set’s classification.
Related Oil Pastel Formats
These pages show possible set formats. Confirm the actual color chart, stick size and pack contents before ordering.
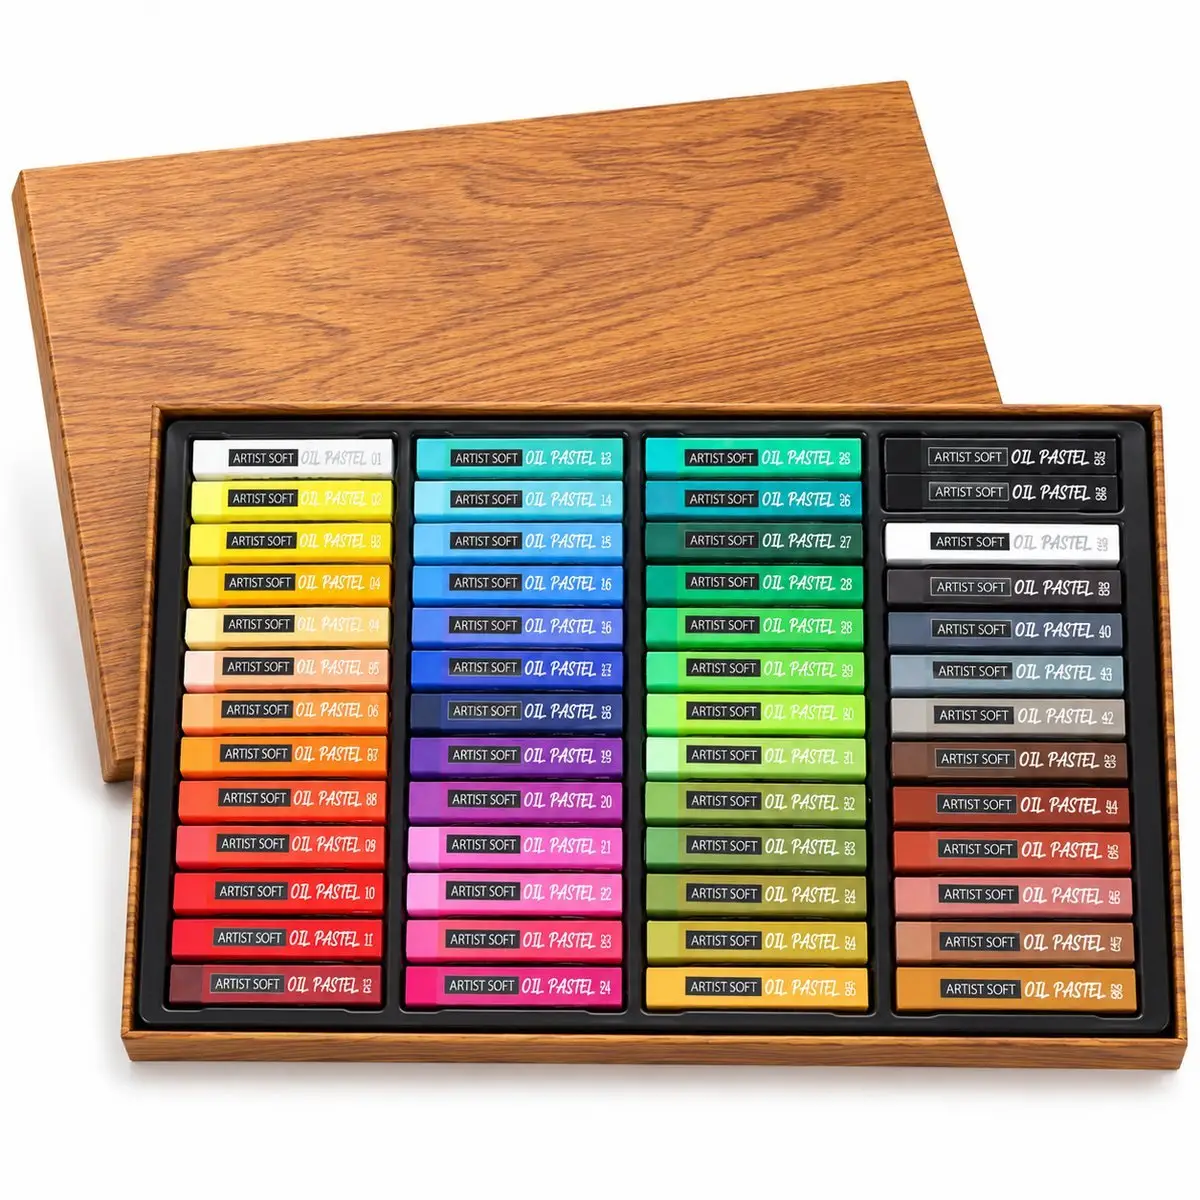 48-Color Oil Pastel Set
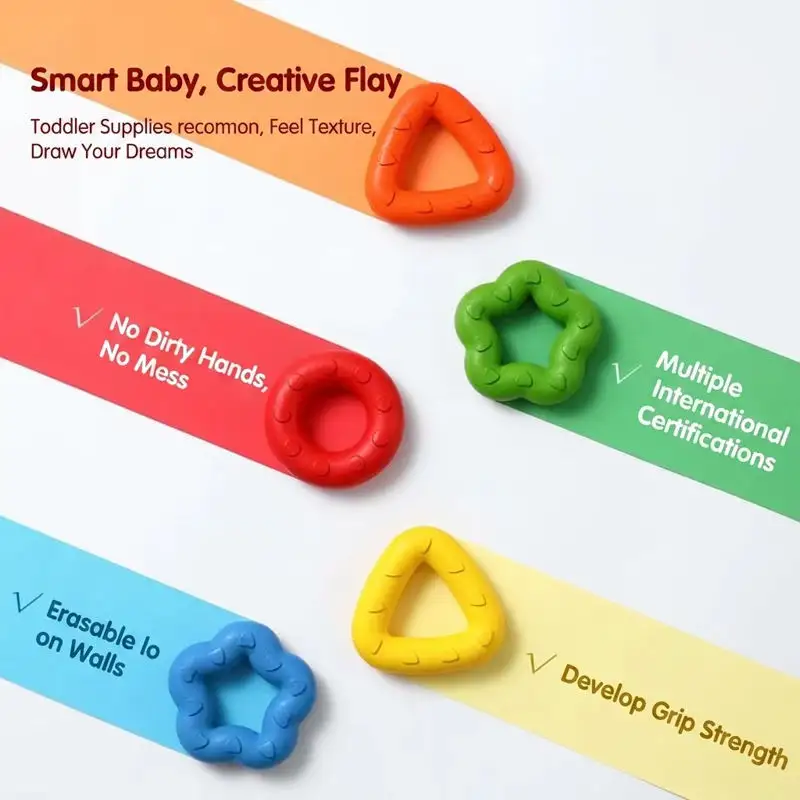 24-Color Washable Oil Pastels