How to Draw Flowers: A Step-by-Step Iris Study for Beginners
Drawing a flower becomes easier when you see its simple shapes before its many petals. This beginner exercise uses an iris as the example, but the same sequence works for a daisy, tulip or flower from your own garden. You need a pencil, eraser, paper and a few colors. The goal is an understandable study, not a perfect copy of a reference photo.
Choose a Reference You Can See Clearly
Use a real flower or one clear photograph that shows the center, outer petals, stem and leaves. If you use a photo, check that you have permission to use it for any public or commercial reproduction. Place the flower so its main shapes are visible and the lighting is steady. Avoid switching references halfway through; that makes the petal direction and light source hard to reconcile.
Gather a Small Working Kit
- One HB or similar pencil for the first layout and a softer pencil for a darker accent if needed.
- An eraser that can lift light construction lines without tearing the paper.
- Drawing paper suitable for the chosen color medium.
- A limited color range: two flower colors, a darker value, a leaf green and a light color for highlights.
If you plan to use water-soluble color, choose paper that can handle the amount of water you will apply. If you are using ordinary colored pencils, keep the drawing dry. Test one swatch on the paper before coloring the flower.
Step 1: Place the Flower With Simple Shapes
Draw a light oval or circle for the overall bloom. Mark the stem with one line and the direction of the largest leaves with two or three quick strokes. Keep the flower small enough to leave a border around it. Check the relative size of the bloom and stem before adding detail; it is easier to correct a simple layout than a finished petal.
Step 2: Find the Center and Main Petals
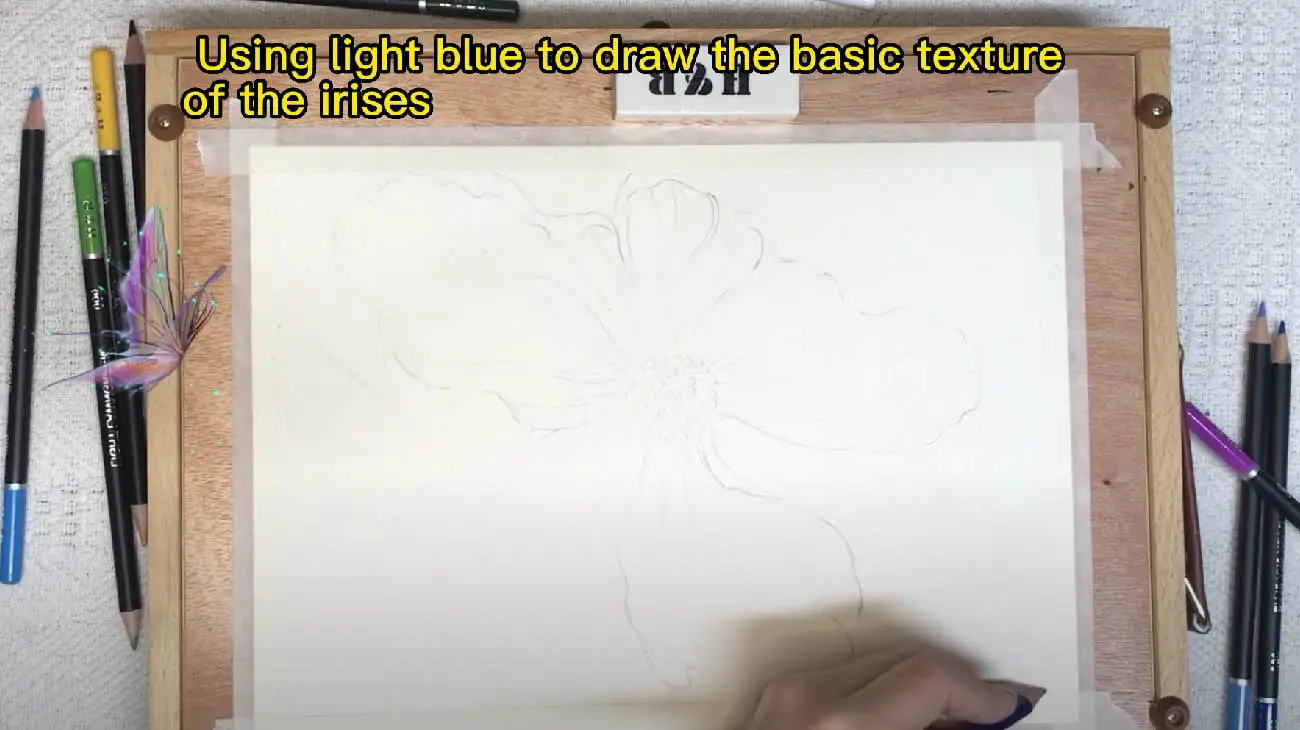
Mark the center of the bloom. Look for the largest petals and draw their direction as simple curved lines. For an iris, notice that some petals rise while others fall or turn outward. Draw only the main petal boundaries at first. Let one petal overlap another so the flower has depth instead of looking like a flat symbol.
Step 3: Refine the Petal Edges
Replace the simple guide lines with the visible contour. Petal edges often bend, fold or vary in width. Draw the big change in direction first, then add small waves only where they help describe the form. Lighten unnecessary construction lines with the eraser. Leave the center and overlaps slightly darker than the outer edges.
Step 4: Add the Stem and Leaves
Build the stem around the original guide line rather than drawing another thin line beside it. Make leaves taper from a wider base to a narrow tip. Use long strokes that follow the leaf direction. If the flower is the focus, keep leaves simpler and slightly quieter than the bloom.
Step 5: Establish Light and Dark Values
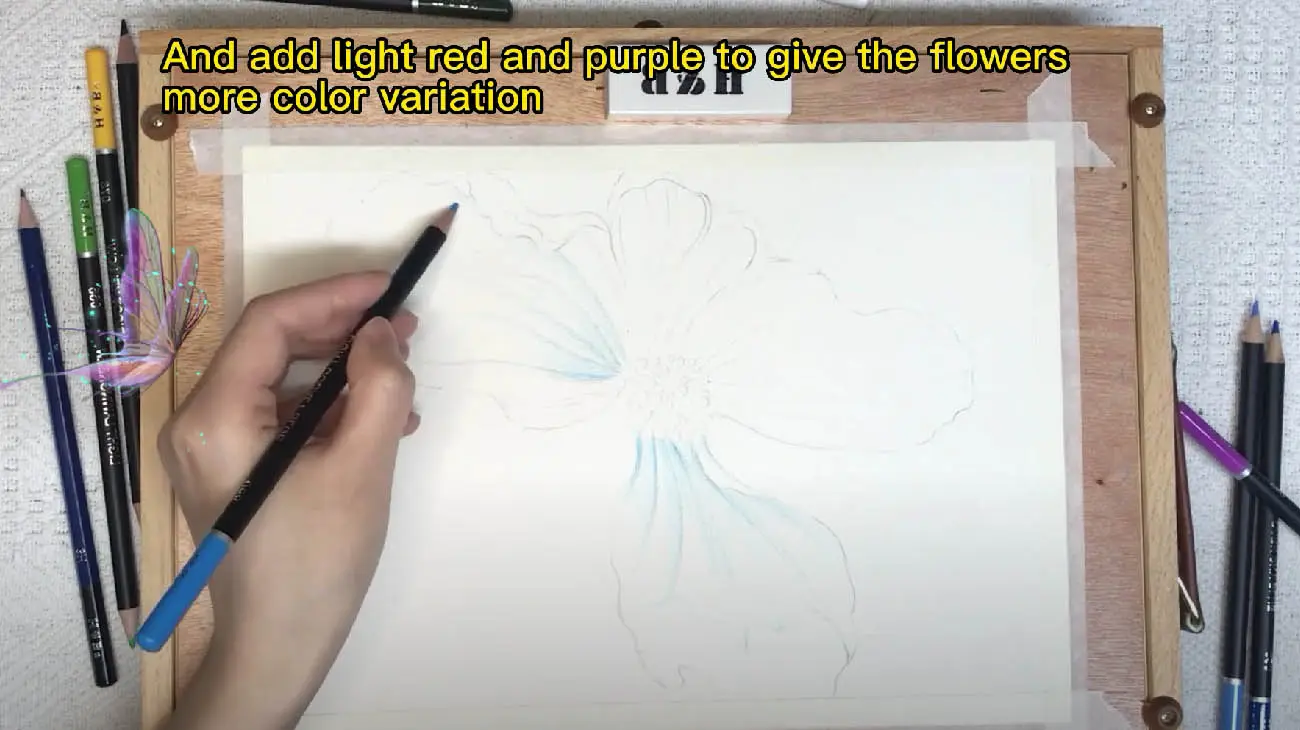
Before selecting exact colors, decide where the light is coming from. Shade the deepest folds and places where petals overlap. Leave lighter areas of paper visible for highlights. Squint at the reference to see the large value groups. If every petal is shaded equally, the flower can lose its shape.
Step 6: Layer Color Gradually
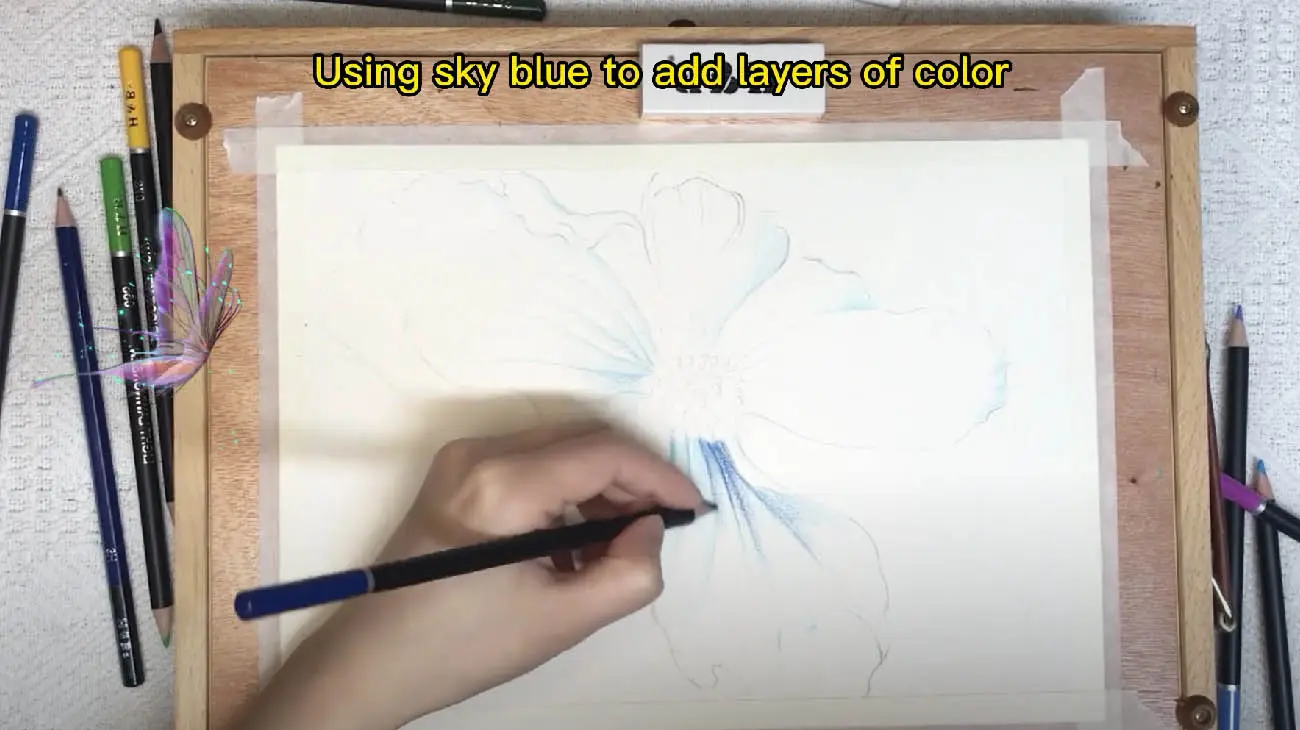
Lay a light base color over each petal, following its growth direction. Add a second color to the shadow side, then use the darker value only in folds and near the center. For colored pencils, build several light layers rather than pressing hard at the start. For watercolor pencils, test activation on a spare swatch and use a controlled damp brush only if the paper supports it.
Step 7: Finish With Selective Detail
Sharpen the edge of one or two foreground petals and add a few veins that follow their form. Keep the rest softer so the viewer knows where to look. Step back from the page and compare the flower’s overall silhouette with the reference. Correct the largest mismatch before adding more small lines.
Common Problems and Quick Fixes
| Problem | Check |
|---|---|
| Flower looks flat | Darken one petal overlap and lighten a nearby plane. |
| Petals look identical | Compare their length, tilt and edge shape against the reference. |
| Color looks patchy | Use lighter pressure and follow the petal direction in another layer. |
| Stem feels disconnected | Trace where it meets the bloom and where the leaves attach. |
What Buyers Can Learn From This Exercise
A flower drawing is a useful sample task for a beginner pencil set. Ask a tester to complete it using only the included materials and instructions. Watch for broken cores, a missing dark value, unclear color naming or paper that cannot support the advertised technique. For a classroom or retail kit, a short project like this can reveal whether the contents match the user promise more clearly than a color count alone.
Related Drawing Materials
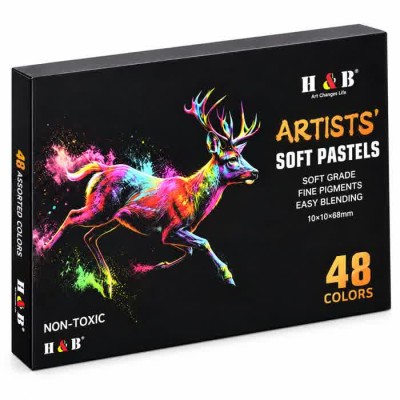
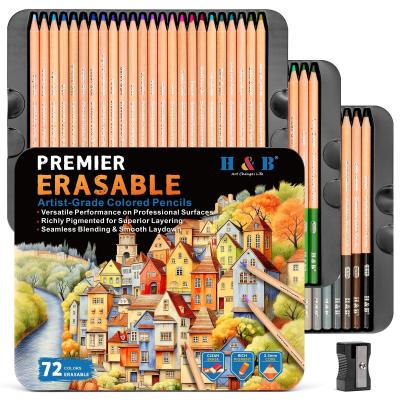
These pages show possible tools for the exercise. Check the actual paper, color range and pack contents before selecting a kit.
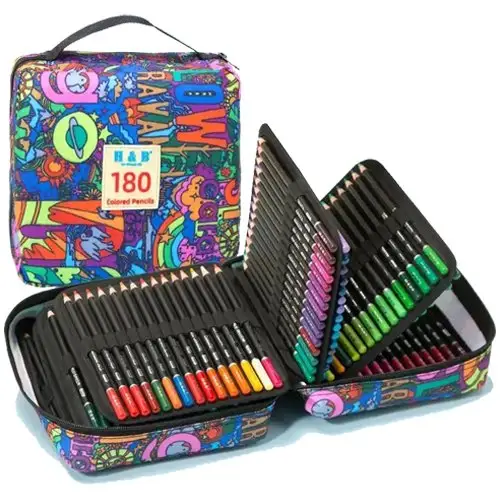 Colored Pencil Set
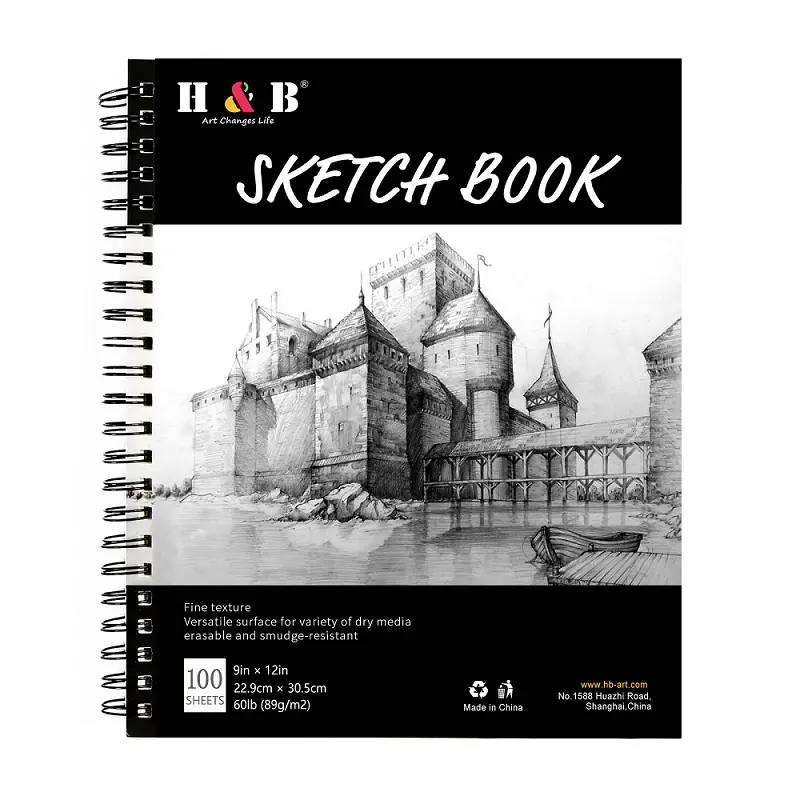 Hardback Sketchbook
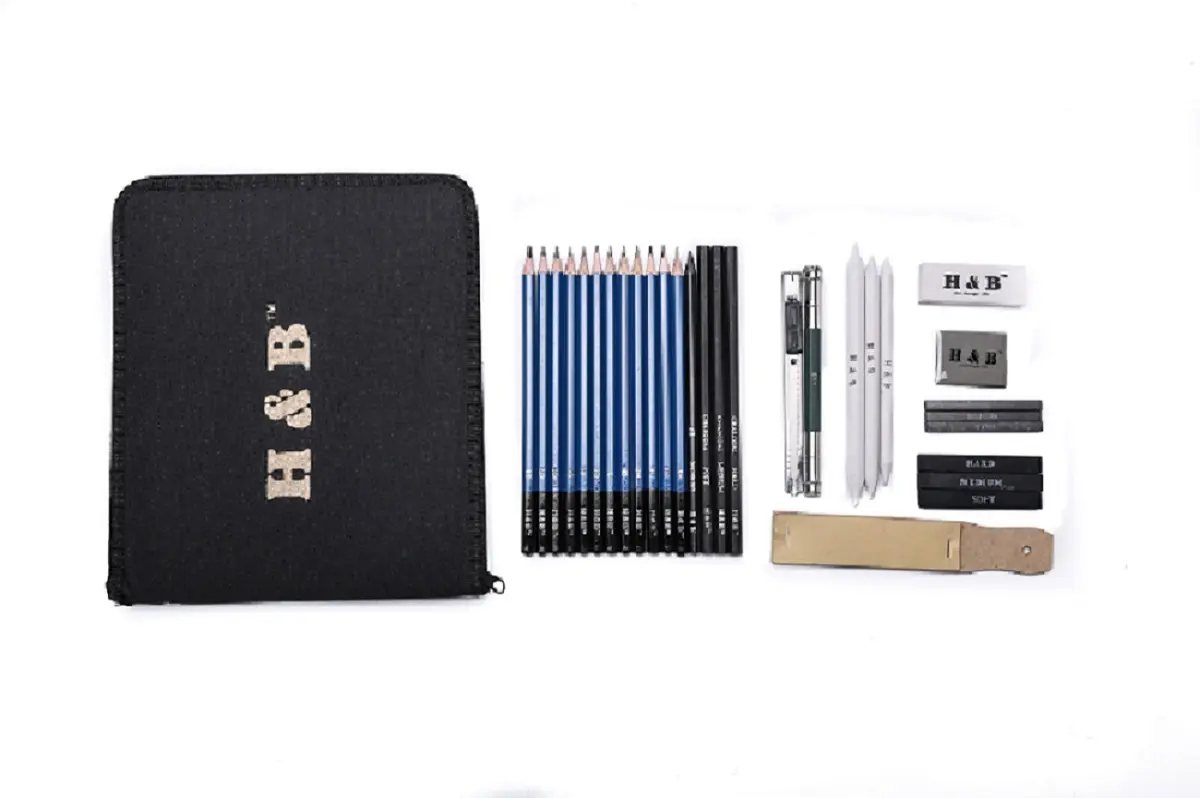 33-Piece Sketching Kit