10 Essential Art Studio Tools: Build a Kit Around the Work
A good art workspace is arranged around the work its user makes. A watercolor student needs a stable surface, absorbent paper and a place to rinse a brush. A drawing student needs a reliable pencil range, erasers and light that makes values easy to judge. A buyer planning a studio kit should start with those tasks, then choose the smallest set of tools that lets people work comfortably and repeat the exercise.
Start With the Three Most Common Tasks
Write down whether the kit is for drawing, painting or mixed media. Note the available table area, whether the user travels with the kit, and how the materials will be stored. This short brief prevents a visually impressive assortment from missing a basic tool. The list below offers ten useful categories; it is a planning checklist, not a claim that every studio needs all ten on day one.
1. A Stable Work Surface
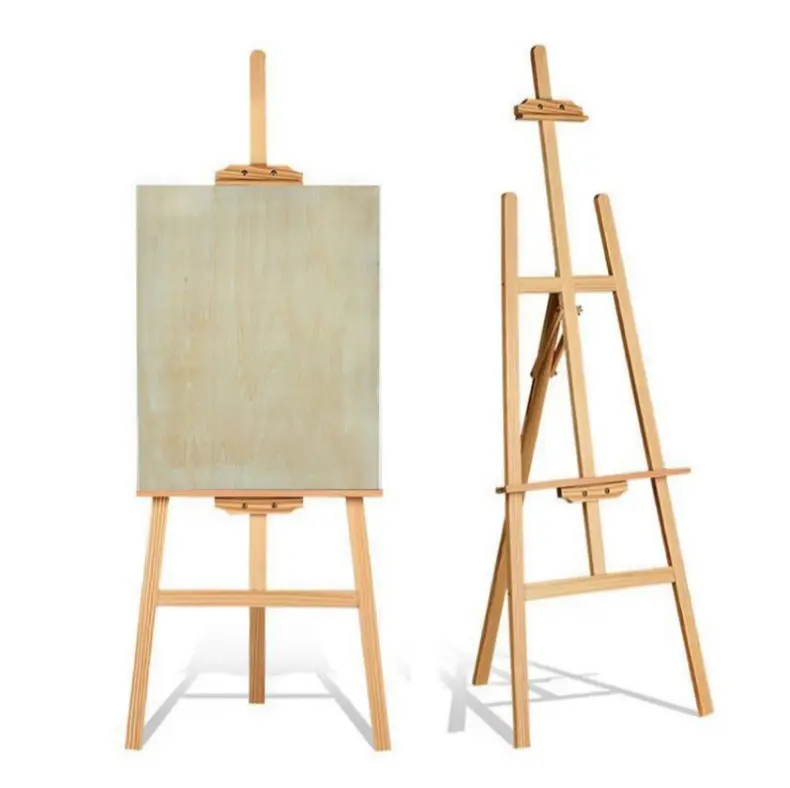
A clear, level table is enough for many projects. A drawing board or easel becomes useful when the user needs a tilted sheet or upright canvas. Check the maximum work size, how the support locks and whether the feet remain steady on the floor used. For classroom packs, consider storage space and the time required to set up each station.
2. Task Lighting
Place the light so the hand does not cast a strong shadow over the mark. Users working with color should be able to judge the painting under a consistent light source. Test glare on glossy surfaces and the stability of any lamp stand. Lighting is a workspace choice, so do not bundle a specific lamp unless its use and electrical requirements have been reviewed for the market.
3. Paper or Canvas Matched to the Medium
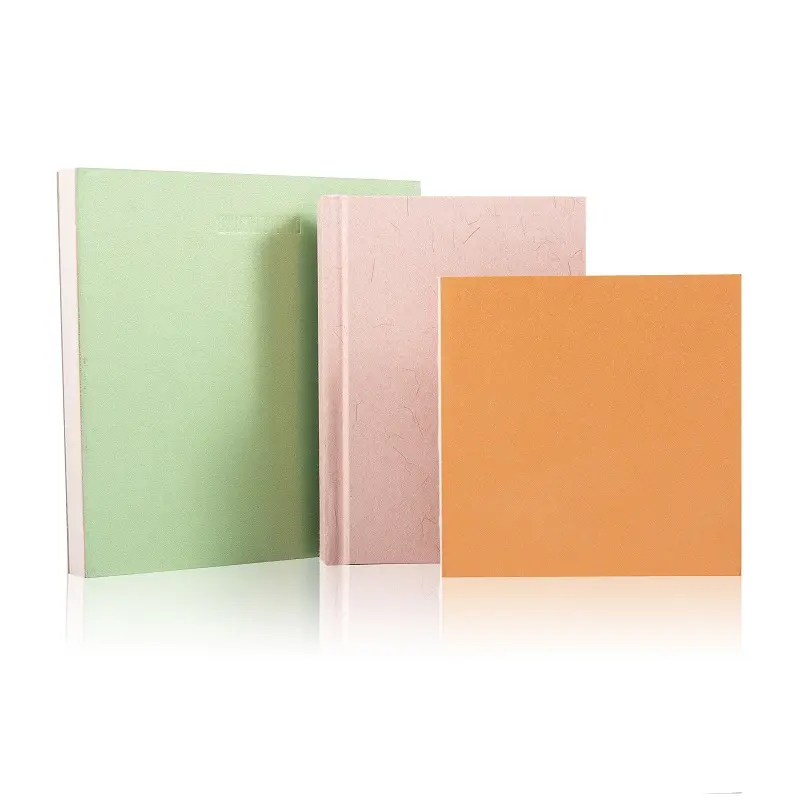
Surface choice changes the experience more than adding many accessories. Watercolor washes need paper that can handle the intended water load. Graphite can be practiced on ordinary drawing paper, while repeated erasing or layered pastel benefits from a suitable surface. State sheet size, weight, texture and count on the pack. Use the intended paint or pencil to test the surface before approval.
4. A Practical Drawing Pencil Range
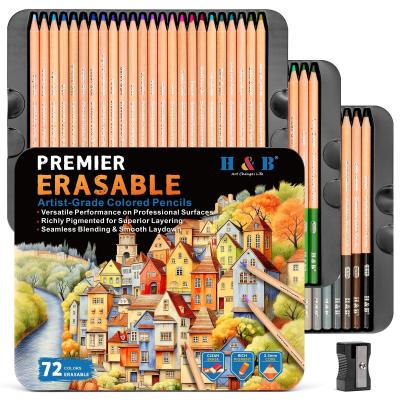
Beginners can learn line, value and edge control with a small range rather than a very large pencil case. Include a lighter drawing grade and one or two darker grades if shading is part of the lesson. Check point retention, sharpening and core breakage across several pencils, not only the sample displayed on the front of the box.
5. Erasing and Correction Tools
A standard eraser helps with clean corrections; a kneaded eraser can lift graphite more gently for highlights. Test each eraser on the supplied paper. A kit should explain whether the tool lifts pigment, smears it or damages the surface after repeated use.
6. Brushes That Suit the Paint
For painting, choose a small number of shapes and sizes that match the planned exercises. A broad wash brush and a smaller round may cover more beginner tasks than a large assortment of near-identical brushes. Test spring, shedding and cleaning after repeated strokes. Identify brush material and size clearly in the specification.
7. Paint or Color Media With a Usable Palette
Choose colors that let users complete the exercises shown on the packaging. A balanced basic palette can support mixing and value studies. Test dry appearance, flow and covering power on the chosen surface. Avoid using “professional grade” as a substitute for pigment, lightfastness or color-specific evidence.
8. A Palette and Water or Solvent Setup
Water-based paint users need space to mix color and a reliable way to rinse brushes. Oil-based media may need a different cleaning and ventilation plan. Name the actual medium and follow the maker’s handling directions; do not include a solvent in a beginner kit by default. Check that any palette or tray cleans as the packaging promises.
9. Storage and Protection
Loose sticks, brushes and paper are vulnerable during transport. A useful case keeps each item in place and can be opened without spilling materials. Check hinges, trays, closures and carton protection after a simple carry test. For refills, confirm whether the original format can be reordered consistently.
10. Cleanup and Care Instructions
Include the supplies and instructions needed to finish the activity safely and leave the workspace usable. State how brushes or nibs should be cleaned, how materials should be capped, and how the artwork should dry or be stored. Test that the instructions fit the actual products in the kit rather than a generic template.
How to Turn the Checklist Into a Purchase Specification
For each included item, record its model, dimensions, material, color or grade, quantity and packaging position. Identify the intended user and destination market. Approve a physical set, not only a component list. Have a beginner complete one project from the enclosed instructions and record anything missing or confusing. This test is useful for retailers, schools and private label buyers because it reveals whether the kit truly works as sold.
For products marketed to children, check the applicable destination-market rules and SKU-level supporting evidence before printing safety claims. The U.S. CPSC art-material guidance and the EU toy safety overview are starting points, with product classification and final labeling reviewed separately.
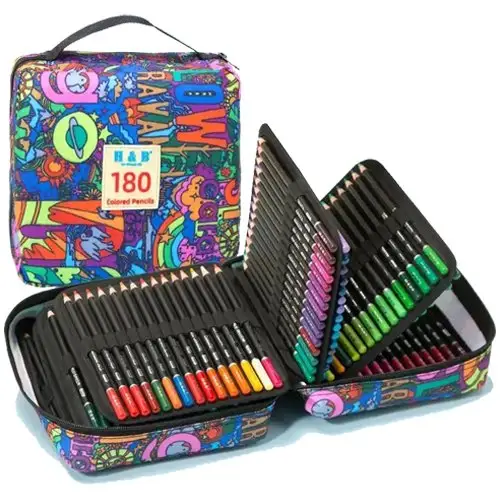
Related Studio Supply Formats
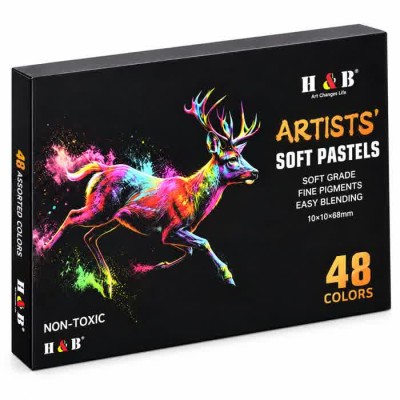
These products show possible components. Confirm the contents and claims for the exact SKU selected.