How to Control Water in a Watercolor Brush: A Practical Beginner Guide
You can mix the right color and still lose control when the brush touches the paper. A shape floods beyond its edge; the first stroke looks dark and the next one looks dry; or a detail line turns into a puddle. The missing step is often simple: learn to judge the water held in the brush, separately from the strength of the paint mixture on the palette.
A beginner asked exactly this in a public watercolor discussion. They understood how to dilute paint but wanted a practical way to decide how wet the brush should be. The replies are individual experiences, not a controlled test, yet the question is a useful starting point for a repeatable exercise. This guide turns it into three habits: load the brush deliberately, remove excess moisture in a predictable place, and make a test stroke before entering the painting.
Two Controls, Not One
Think of the palette and the brush as separate controls. The palette mixture determines how much color is present in the liquid you pick up. The brush determines how much of that liquid reaches the paper at once. A pale mixture on an overloaded brush can still create a large wet patch. A stronger mixture on a brush that has been lightly blotted can produce a small, controlled mark.
The paper adds a third variable. A very wet surface lets color move after the brush has lifted; a dry surface limits that movement differently. Brush size, belly, fiber, and point also affect how much liquid is carried and how it is released. Winsor & Newton's watercolor questions guide notes that a larger brush belly carries more water and paint, while a smaller brush generally carries less. That explains why one fixed rule such as “dip twice” cannot work for every brush and paper.
Your aim is not to find a perfect number of drops. It is to make the brush behave predictably for the mark you want. A broad wash needs enough liquid to keep its working edge alive. A narrow line needs enough moisture to flow without a bead collecting at the tip. A dry-brush texture deliberately uses less liquid and lets the paper texture show. The same brush can make all three marks when its load is adjusted.

Set Up a Small Control Station
Before painting a subject, prepare one sheet of the paper you will actually use, a water container, a mixing area, and a clean absorbent cloth or towel. Use one round brush and one paint color for the first trial. If your planned painting includes a broad wash, add a larger brush and test it separately. Changing brushes, papers, and colors at the same time makes it hard to tell what caused the result.
Divide the practice sheet into three labeled columns: wet, controlled, and dry. Make a consistent paint mixture in the palette. The precise hue is less important than keeping the mixture the same while you learn what changing the brush load does. Photograph or save the sheet if you intend to compare brushes later.
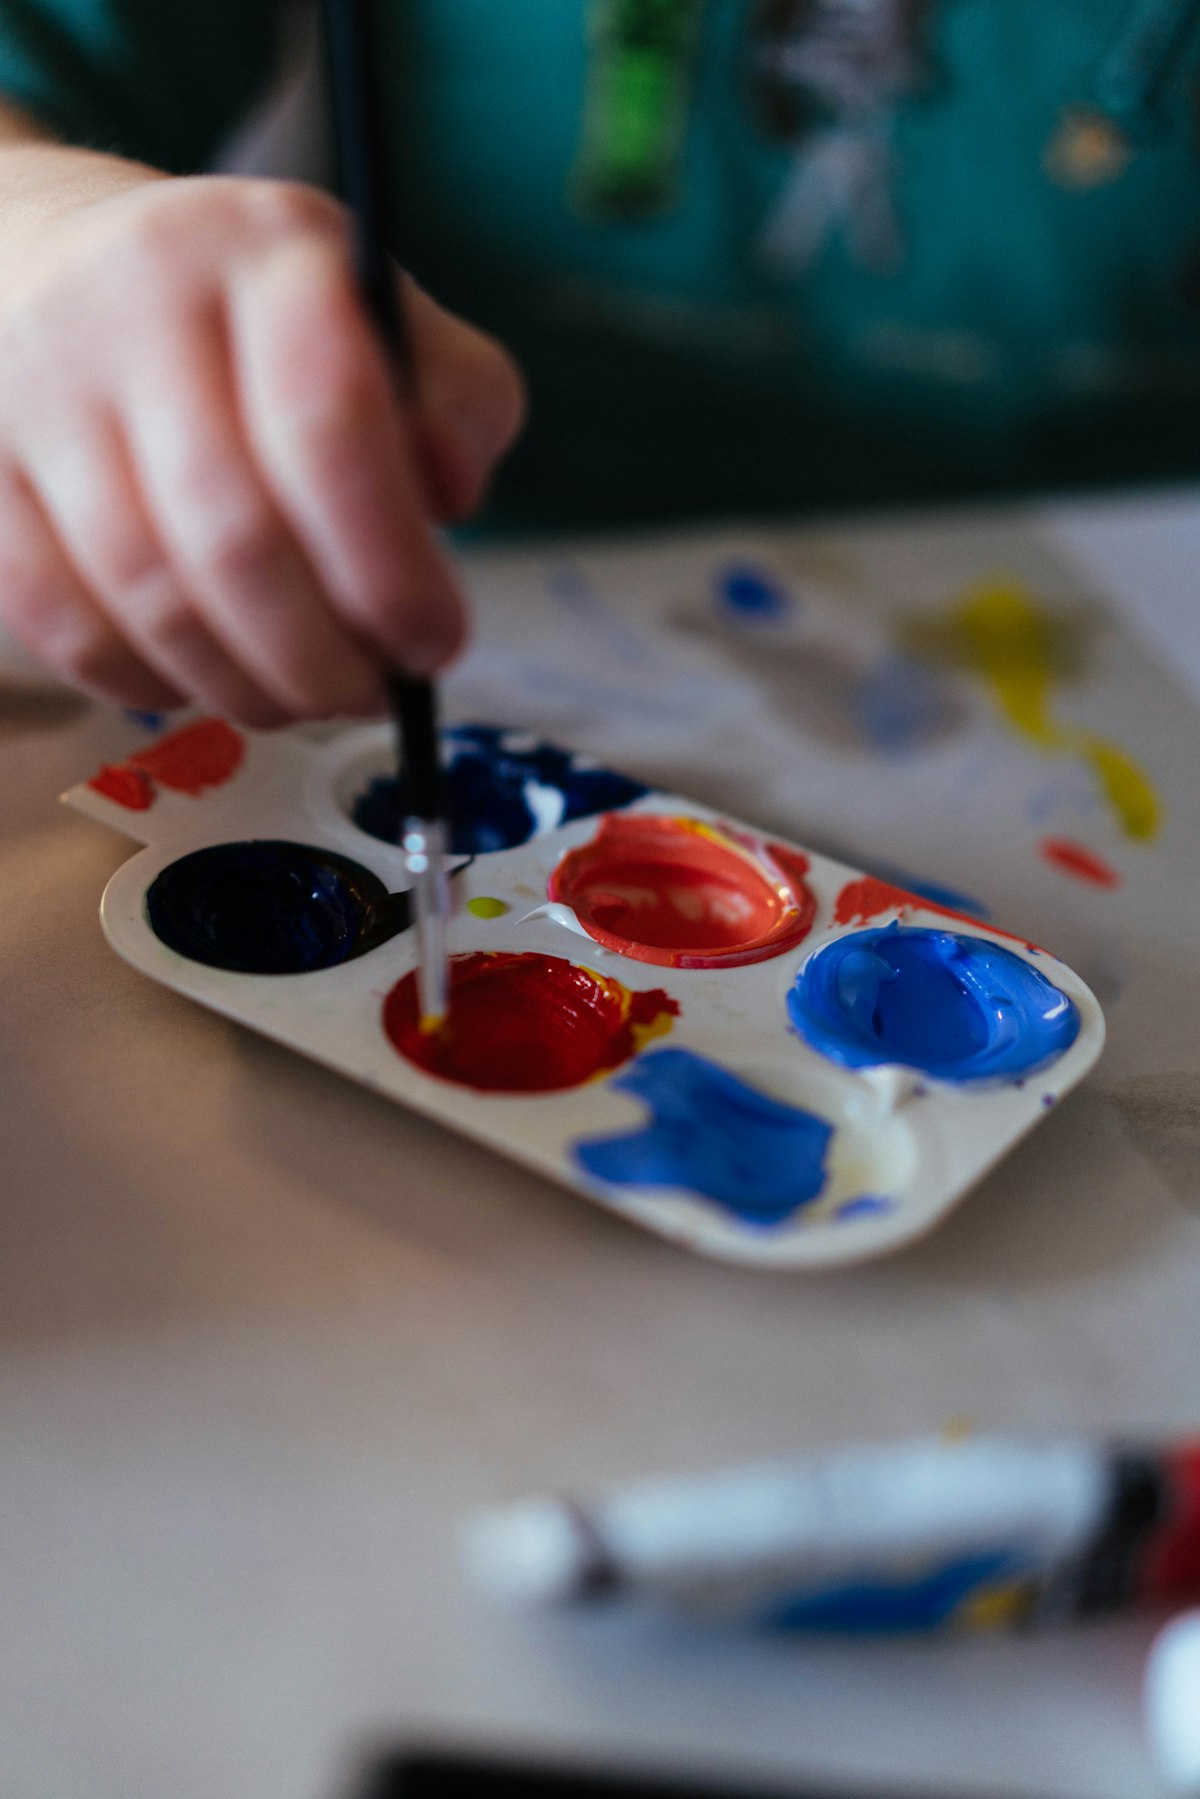
To load the brush, dip the hairs in water and bring the brush to the palette. Move it through the mixture so the hairs are evenly charged; do not force paint into the ferrule. Lift the brush and pause over the palette. If a drop is ready to fall, touch one side of the brush to the palette edge or cloth. Make the next decision by watching a test stroke, not by assuming the brush is ready because it has been dipped.
Exercise 1: Recognize an Overloaded Brush
On the wet column, deliberately load the brush until you can see a full belly of liquid. Draw a short horizontal stroke on dry paper. Watch for a bead at the lower edge, an expanding pool at the end, or color running farther than you intended. The point of this exercise is observation, not a tidy painting.
Try another stroke with the same mixture after touching the brush once to a cloth. Compare the size of the wet edge and the amount of color delivered. If the second stroke behaves better, you have found a useful adjustment for that brush, mixture, and paper. If both strokes spread widely, check whether the paper was already damp or the brush still carried more liquid than the small shape required.
Do not blame every bloom or backrun on the brush. Water added to an area that is drying unevenly can move pigment in a different way from a first stroke on dry paper. Keep the first exercise on untouched dry paper so the brush load remains the main variable.
Exercise 2: Find a Controlled Working Load
In the controlled column, draw a small rectangle. Load the brush, touch it lightly to the cloth, and fill the rectangle with adjacent strokes. Look for a continuous wet edge that you can move across the shape without puddling at the bottom. This is a practical load for a small wash: enough liquid to connect strokes, but little enough to stop at the drawn boundary.
If the second stroke turns streaky before it meets the first, the brush may be too dry for that shape, or the paper may be absorbing the liquid quickly. Reload from the same palette mixture and try again. If the rectangle fills but leaves a prominent pool at its final edge, remove a little more moisture before the next attempt. Make one adjustment at a time.
For a larger wash, a larger brush can reduce the number of strokes needed. Winsor & Newton's mop-brush wet-on-wet lesson uses a loaded brush and sweeping movements for broad areas. That does not mean a mop is the right tool for every beginner exercise. Match the brush and load to the area being painted, then test the combination on the intended paper.
Exercise 3: Draw a Line Without Flooding It
For a fine line, first mix paint on the palette, then shape the brush to a point at the palette edge. Lightly touch away excess liquid and draw a short line with minimal pressure. A useful line should remain continuous without a drop forming at the start or end. If it breaks into scratchy marks, add a little moisture. If it widens suddenly, reduce the load or touch the paper more lightly.
Try three lines side by side: one with the full brush, one after a light touch to the cloth, and one after a stronger blot. Label each line. This quick comparison tells you more than repeating the same unsuccessful stroke. With a round brush, a pointed tip and a broader belly can give different marks, so check both the shape of the point and the liquid held behind it.
Brush condition matters here. A tip that no longer comes together after rinsing may make line control difficult even with a good water load. Before deciding that the brush is unsuitable, clean it, reshape it gently, let it dry, and test again. Winsor & Newton's brush-care guide describes cleaning and reshaping as part of maintaining the working point.
Exercise 4: Learn What “Dry Brush” Looks Like
The dry column is not a failed wash. Load the brush with paint, then remove more moisture than you would for a continuous line. Move it lightly over the paper. Broken marks and visible surface texture are expected. This is one way to make texture; it is not the load to use when you want an even wash. Winsor & Newton describes dry brush as using less water to leave textured marks.
Compare this column with the controlled rectangle. Ask which mark fits the subject: a smooth sky, a fine branch, or a rough stone. Water control becomes easier when you decide the intended mark first. The same amount of moisture should not be expected to produce all three.
What Changes on Damp Paper?
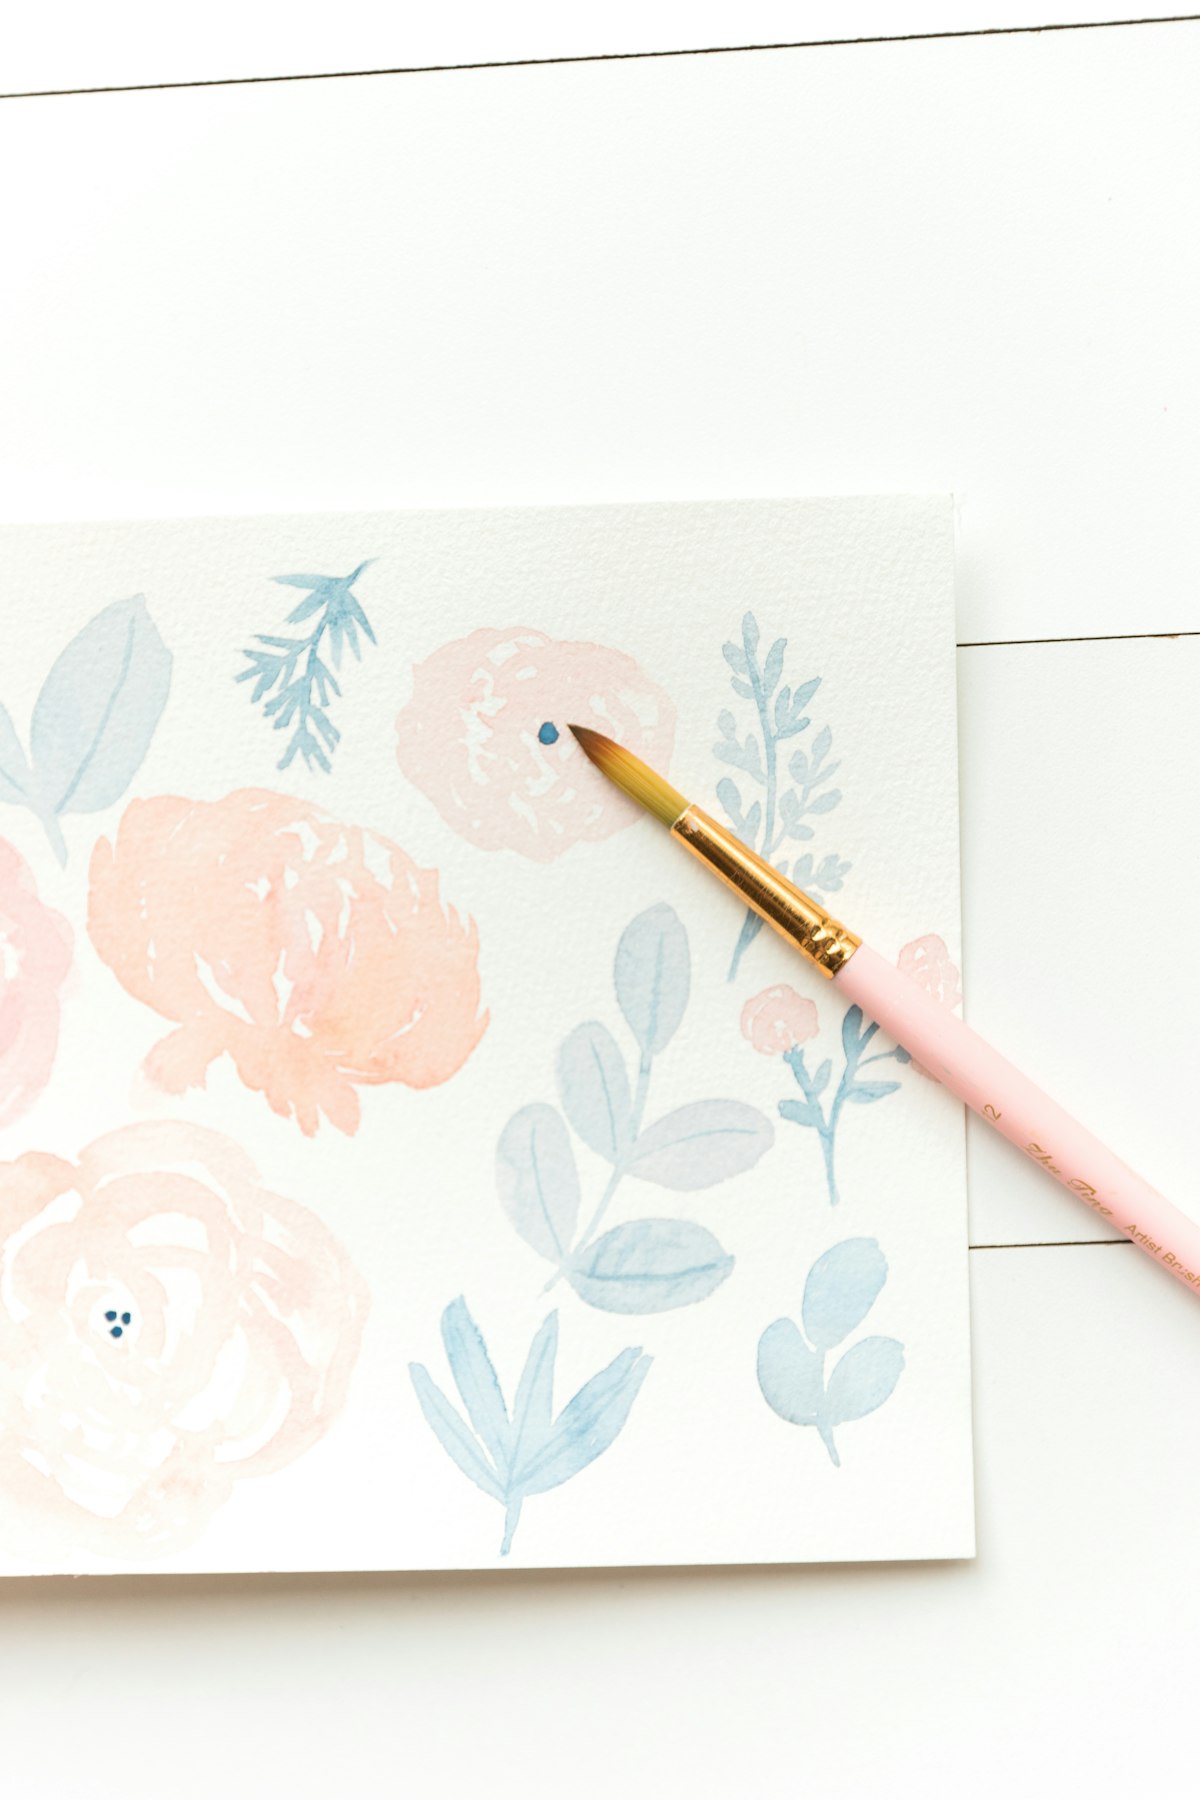
Repeat one controlled stroke after dampening a separate test area. A damp surface can move the edge even if your brush load is unchanged. Observe the sheen before touching the paper: a visibly pooled surface and a just-damp surface will behave differently. Make a note of the paper state next to the swatch. Otherwise you might mistakenly “correct” the brush for a change caused by the paper.
For a wet-on-wet passage, the paper's moisture and the brush's moisture work together. Use a small test area to learn how far your color travels. If pigment rushes across the surface, wait for some moisture to settle or reduce the brush load. If nothing moves and you wanted a soft edge, the surface may have dried too far for that effect. The exact timing varies with the paper and working conditions, so treat this as an observation exercise rather than a universal time rule.
A Short Troubleshooting Guide
| What you see | First check | Next trial |
|---|---|---|
| Water pools at the end of a line | A drop at the tip or too much pressure | Touch the brush to the palette edge, then repeat with a lighter hand. |
| A small shape floods beyond its outline | Brush load and paper dampness | Test on dry paper, blot once, and compare. |
| The first wash stroke is smooth but the next is streaky | Working edge dried or brush ran out of liquid | Use the same mixture, reload earlier, or test a larger brush for that area. |
| Detail lines are pale and broken | Too little liquid or paint on the point | Re-form the point with a small amount of the palette mixture. |
| Pigment spreads after the brush leaves | Paper moisture | Note the surface sheen and repeat when it is less wet. |
| The point splits even after adjusting water | Brush condition | Rinse, reshape, dry, and retest before replacing. |
This table gives the first variable to investigate, not a diagnosis of a product defect. Keep your practice swatches if you want to compare materials across sessions.
Make the Practice Portable
After a few trials, write a short note for each brush: “large wash,” “small shape,” or “fine line,” and what you usually do after loading it. For example, you might touch a particular brush to the palette edge before details, while using a fuller load for a larger wash. The note describes your tested setup, not a permanent property of the brush. Change the paper or paint and the routine may need adjustment.
A five-minute warm-up before each painting can be enough: one overloaded mark, one controlled shape, and one fine line. The exercise trains your eye to see the wet edge and the brush belly. It also helps you notice a change in the brush point, the absorbency of a new paper pad, or the strength of a fresh palette mixture before it affects the main work.
For Teachers, Kit Builders, and Purchasing Teams
End users benefit when instructions address brush load directly. A kit card that only says “add water” leaves out the decision beginners are trying to make. A more useful card can show the three test marks, tell users where to remove excess water, and explain how to test on a spare strip of the included paper. Keep the language practical: “If a drop forms at the tip, touch the brush to the palette edge and test again.”
For a school or retail set, evaluate the brush, paint, and paper together. Give several new users the same small wash and fine-line exercise. Record whether they can complete it with the supplied tools and instructions, and note where they struggle. This is a usability check, not a published performance test. If the brush holds much more liquid than the activity requires, or the paper changes the result sharply, consider adjusting the included brush size, the practice paper, or the instructions before changing the paint.
Ask the supplier for the exact proposed brush shape and size, fiber description, handle and ferrule specifications, paper format, and replacement availability. Keep an approved physical sample and a dated trial sheet as the reference for later orders. Do not turn the Reddit discussion or a single classroom observation into a claim that one brush construction works best for everyone.
The Useful Habit to Keep
When a mark goes wrong, pause before adding more water. Ask three questions in order: What mark did I intend? How much liquid is in the brush? How wet is the paper? Make one test stroke and adjust one variable. With that routine, “water control” becomes a visible, repeatable process rather than a guess.
Explore the Materials Used in This Exercise
These are examples to inspect alongside the practice above. Check each product's exact brush, paint, and paper specifications before planning a kit.
 12-Piece Nylon Paint Brush Set
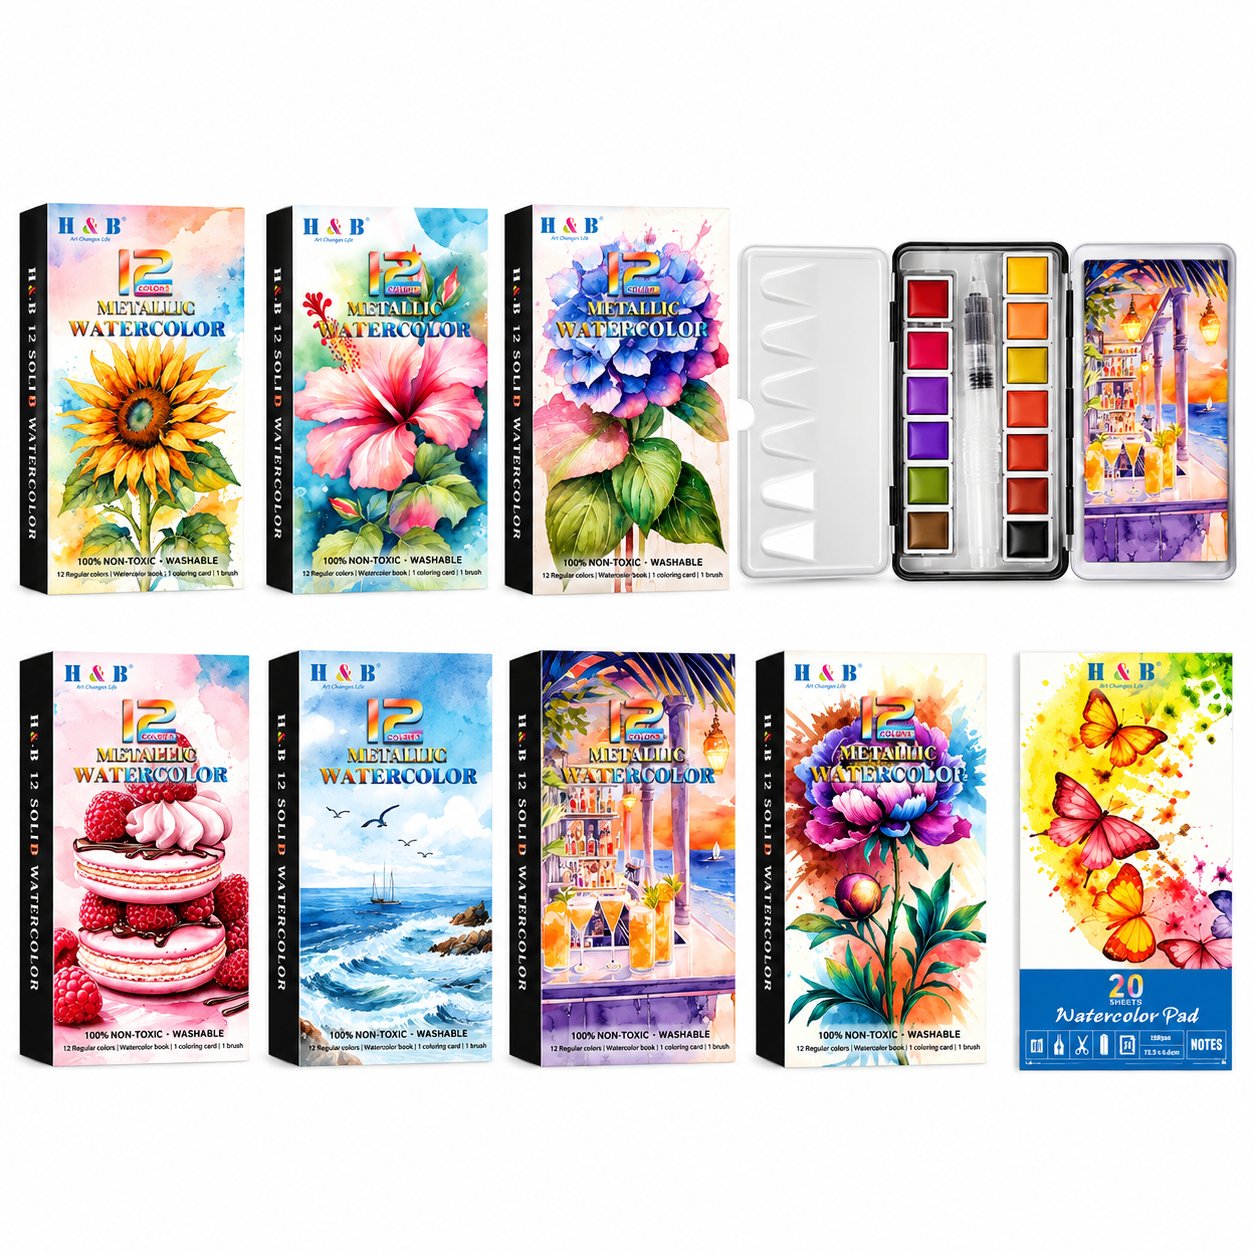 12-Color Watercolor Set with Water Brush
 300 gsm Watercolor Pad
Planning a watercolor activity kit? Share the brush, paint, paper, and packaging requirements you want users to work with.